Blog
How to Verify Your Website in Google Search Console?
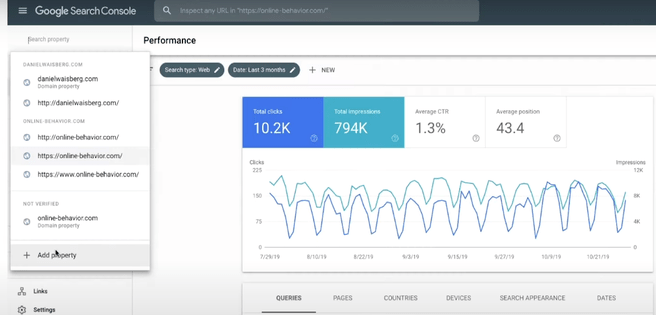
Verifying your website in Google Search Console gives you more control over your website's presence in search results.
Sounds great, right?
But it's just a tad more complex than clicking a few times and jumping right to the first page of Google search results.
Before you can submit your sitemap, you need to prove to Google that you really own the site, so here are 5 ways to do it.
Option 1: HTML Tag Site Ownership Verification with WordPress
WordPress users can simply verify their website by adding a meta tag into the header using a free plugin. Here's how.
-
Find the meta tag by opening the Alternate methods tab in the Google Search Console after you add a new property.
(Image Source: Google Search Console Support)
-
Click on the HTML tag option and copy the tag you see below.
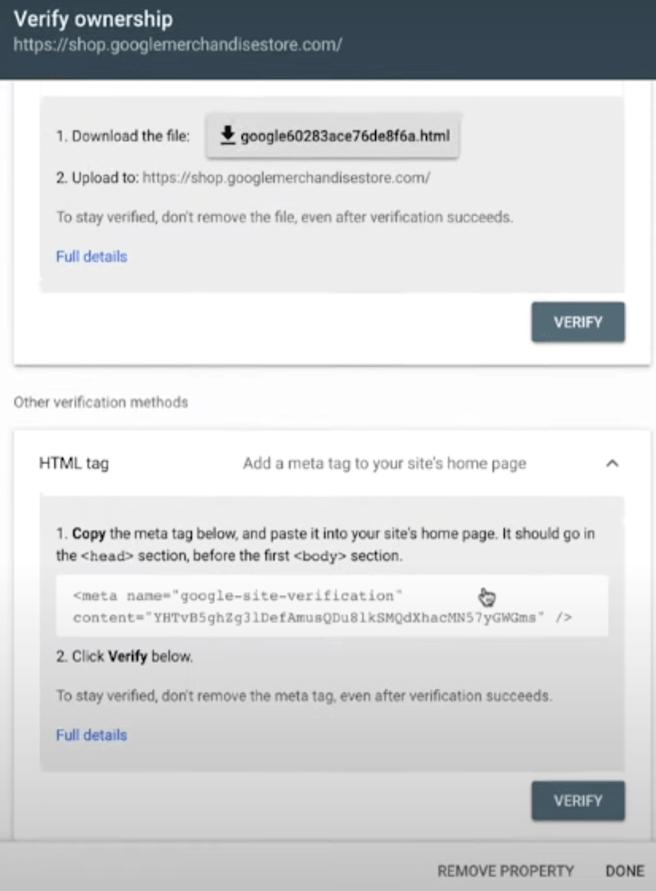
(Image Source: Google Search Console Support)
-
If you don't already have it, install the Insert Headers and Footers WordPress plugin on your website.
-
Open Settings and insert the meta tag in Scripts in Header at the top.
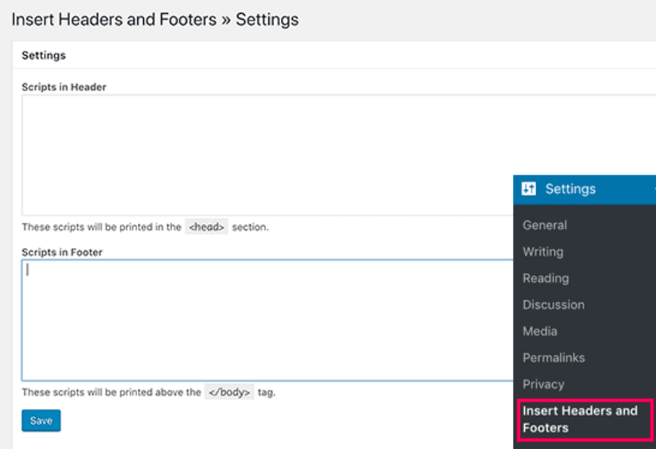
(Image Source: WP-Beginner)
-
After you save the changes, open the Google Search Console interface again and click on Verify. You can check if you've successfully performed the steps by opening your website and right-clicking on the homepage, then selecting View Page Source.
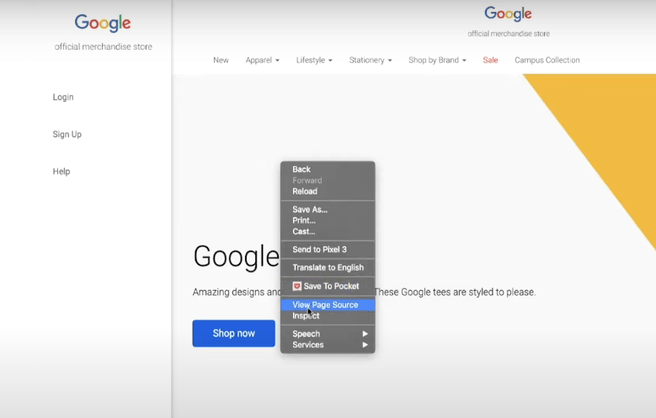
(Image Source: Google Search Console Support)
Option 2. HTML File Upload Verification
This is Google's recommended method. Upload this file to your website's root directory and you're done. However, you can only use this method if you can access your server. If not, opt for an alternative.
To upload the HTML file, do the following:
-
Add your website to Google Search Console and download the HTML verification file.
(Image Source: Google Search Console Support)
-
Use SFTP (Secure File Transfer Protocol) to connect to your website and upload the HTML file to the root folder. If you're not sure what this folder is, look for one that contains files such as wp-config.php.
-
When you do so, open Google Search Console again and select Verify to finish.
Option 3: Use Google Analytics Tracking Code
Installing the asynchronous tracking code from Google Analytics on your website may have multiple benefits, and one of them is an easy task of verifying your site. Here's what to do:
-
Open the Alternate methods tab.
-
Click on the Google Analytics option. Make sure you've used your account for Google Analytics to log into Google Search Console, too.
-
Check your homepage' page source to ensure your Google Analytics tracking code is there.
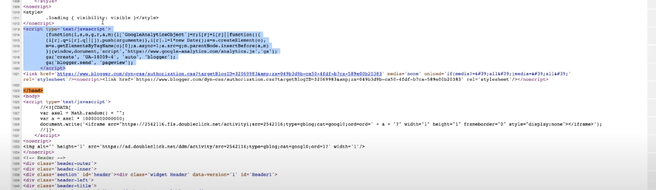
(Image Source: Google Search Console Support)
-
Select Verify, and you're done.
Option 4. Google Tag Manager Container Snippet
Are you using the Google Tag Manager container snippet on your website? If so, and if you have the "manage" permission for it, you can also use this method to verify yourself as the website owner:
-
Click on Alternate methods.
-
Choose Google Tag Manager from the list.
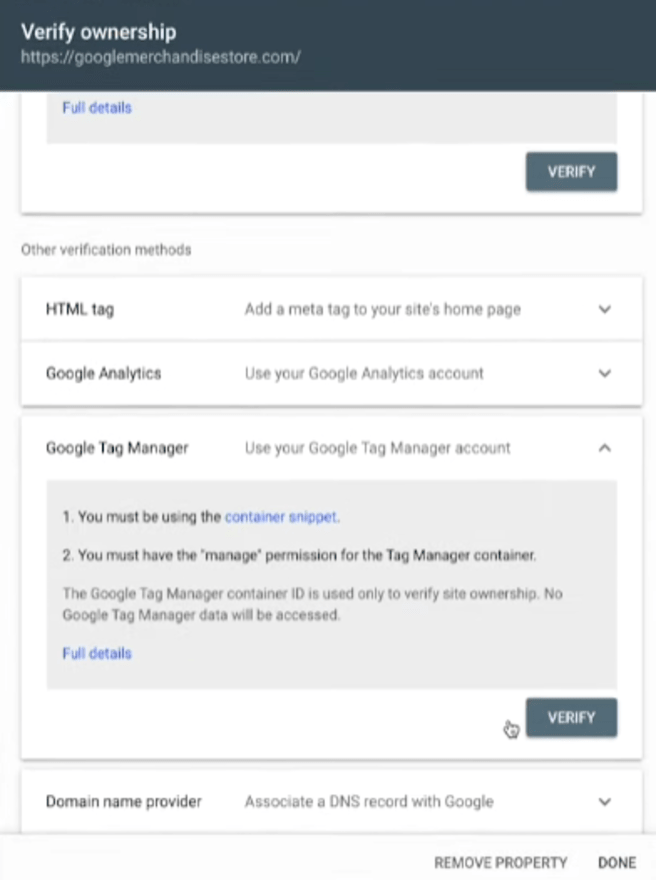
(Image Source: Google Search Console Support)
-
Click on Verify.
Option 5: DNS Verification (here GoDaddy)
Many argue that this method can ensure the best performance for your website when you get verified, so follow these steps if this is your choice:
-
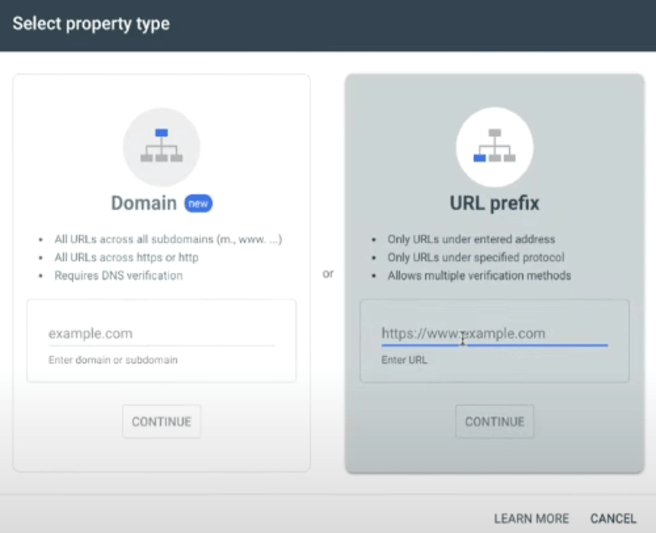
When adding a new property, choose Domain and enter the desired domain name.
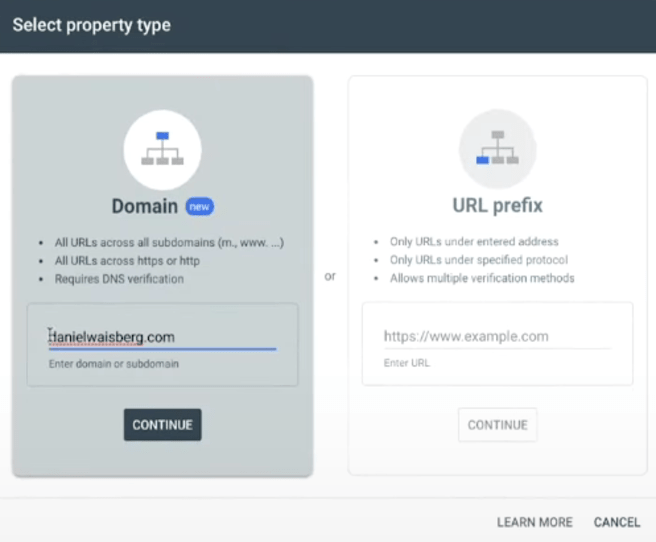
(Image Source: Google Search Console Support)
-
On the next screen, select the name of your provider from the drop-down list.
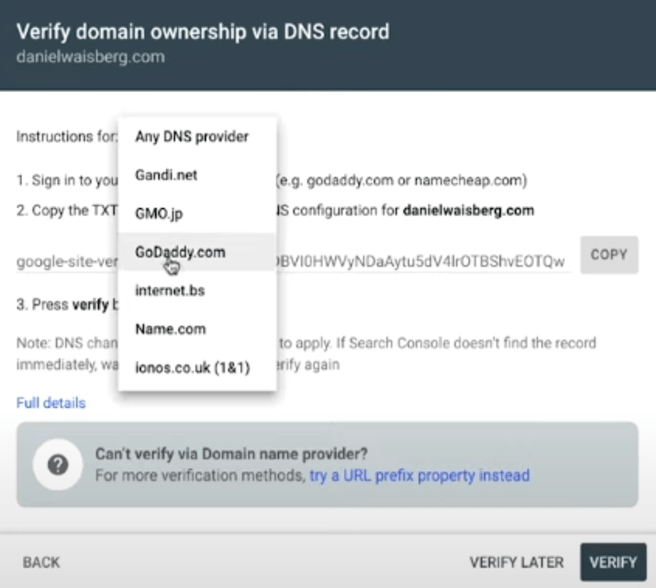
(Image Source: Google Search Console Support)
-
Click on Start verification to log into your domain host account. Use the usual credentials and click Authorize on the next screen.

(Image Source: Google Search Console Support)
-
You'll be redirected to the Search Console. If the verification isn't completed immediately, don't worry. Sometimes this process may even take a day.
BONUS: Two More Ways to Verify Your WordPress Site
There are two more WordPress plugins that allow you to verify your website ownership.
You can do it by using:
-
Yoast SEO or
-
All in One SEO Pack.
Yoast SEO gets you verified after you insert your Google verification code under the Webmaster Tools tab. To get this code, open the Google Search Console interface and select the HTML tag option. You'll see the code in the box below.
All in One SEO Pack verifies you the same way. Get the code from Google Search Console and paste it in the Google Webmaster Tools field you'll find under General Settings.
Get Verified and Enjoy the Perks
Whatever method you choose to verify your website in Google Search Console, it shouldn't take more than a few minutes to complete the process.
When you get verified, you'll be able to customize how your website appears in search results and get even more detailed reports on your website performance. Some time may pass between you clicking the Verify button and actually getting verified, but being crawled and indexed by Google is sure worth the wait.